Ceramic Bead Artists Tutorial by Golem Design Studio -- Making of a Bead Box
Slip Casting Beads
Recycled Brighton Tin Cuff Bracelet and
Making Ceramic Beads
Painting Mimbres
Making a Lentil Bead
New Bracelet
Painting Lips, Cheeks and Eyes on Kids
Clay Play for Everyone
Making Ceramic Beads from 2-Part Molds
Making a Hollow Clay Focal Bead
Making Clay Tassel Beads
Glazing a daisy lentil bead
Houseold Items...Cool Looking Beads
Rolling Ceramic Beads
ABOUT FACE Necklace
Patching the pour hole in a poured bead
Pouring A Plaster Mold
Antique Lace Impressions in Clay
Making of a Bead Box
Making a Bead Measurer
Assembling a Hand formed Pendant
Pate' sur Pate' or slip trailing
Mold Making for Slip Casting
Stamping Ceramic Beads
Making Ceramic Beads
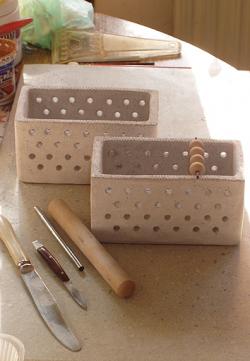
Making of a Bead Box
By Golem Design Studio
Share this Item with your Social Network friends.
(you need to be logged in to the social media) Tweet
(you need to be logged in to the social media) Tweet
First you should prepare the clay mixture for the bead box. Here follows the recipe that we are using:
60% Kaolin (China clay)
40% Silicon Carbide SiC (black crystals that you can find in the lapidary store, they sell it like abrasive for tumbling. You should use 2 different grits of it, half of the total quantity should be 60 grit, other half - 200 grit)
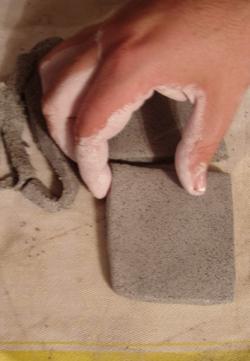
Then using prepared mixture you should make slabs of the desired shape and size.
On the next stage you should assemble your box. I'm using a plaster mold for this, but if you don't want to mess with a mold, a cardboard box covered with plastic probably will do the job too. I'm starting with the bottom slab, then I'm adding long sides.
Don't forget to water all the edges of the slabs good before joining them together.
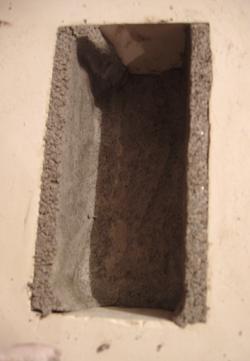
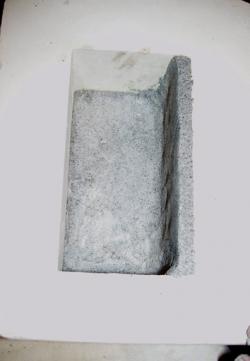
Here the box is almost shaped.
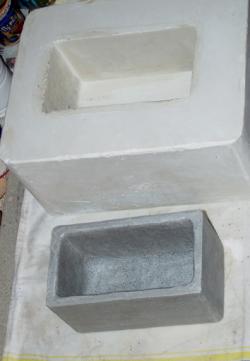
Here you see the completed box and the mold.
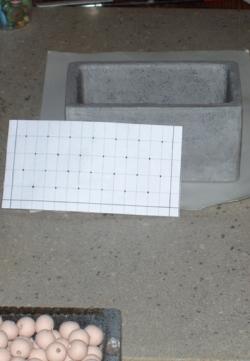
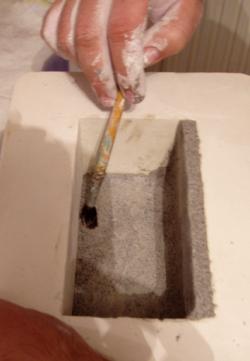
Now is the time to mark the places for the holes. I'm doing this by using printed template, and a needle end tool.
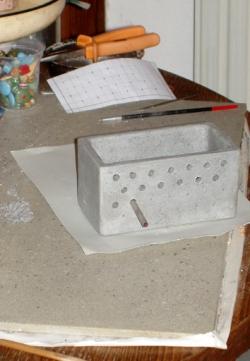
I did the main drilling of the holes with piece of steel tube. You should be very careful when doing this, the box is very fragile at this stage. I'm pressing the tube from the outside, at the same time I'm pressing my finger against the tube from the inside .