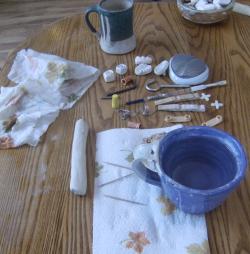
Ceramic Bead Artists Tutorial by MaryAnn Carroll -- Houseold Items...Cool Looking Beads
Slip Casting Beads
Recycled Brighton Tin Cuff Bracelet and
Making Ceramic Beads
Painting Mimbres
Making a Lentil Bead
New Bracelet
Painting Lips, Cheeks and Eyes on Kids
Clay Play for Everyone
Making Ceramic Beads from 2-Part Molds
Making a Hollow Clay Focal Bead
Making Clay Tassel Beads
Glazing a daisy lentil bead
Houseold Items...Cool Looking Beads
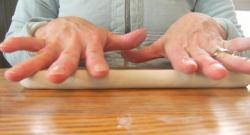
Rolling Ceramic Beads
ABOUT FACE Necklace
Patching the pour hole in a poured bead
Pouring A Plaster Mold
Antique Lace Impressions in Clay
Making of a Bead Box
Making a Bead Measurer
Assembling a Hand formed Pendant
Pate' sur Pate' or slip trailing
Mold Making for Slip Casting
Stamping Ceramic Beads
Making Ceramic Beads
Recycled Brighton Tin Cuff Bracelet and
Making Ceramic Beads
Painting Mimbres
Making a Lentil Bead
New Bracelet
Painting Lips, Cheeks and Eyes on Kids
Clay Play for Everyone
Making Ceramic Beads from 2-Part Molds
Making a Hollow Clay Focal Bead
Making Clay Tassel Beads
Glazing a daisy lentil bead
Houseold Items...Cool Looking Beads
Rolling Ceramic Beads
ABOUT FACE Necklace
Patching the pour hole in a poured bead
Pouring A Plaster Mold
Antique Lace Impressions in Clay
Making of a Bead Box
Making a Bead Measurer
Assembling a Hand formed Pendant
Pate' sur Pate' or slip trailing
Mold Making for Slip Casting
Stamping Ceramic Beads
Making Ceramic Beads
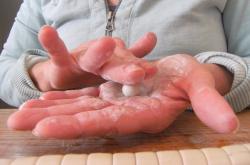
Houseold Items...Cool Looking Beads
By MaryAnn Carroll
Share this Item with your Social Network friends.
(you need to be logged in to the social media) Tweet
(you need to be logged in to the social media) Tweet
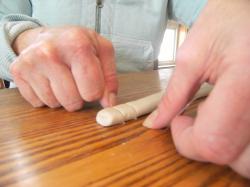
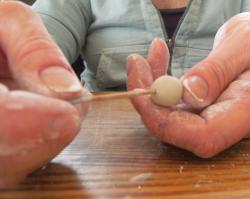
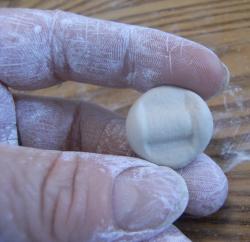
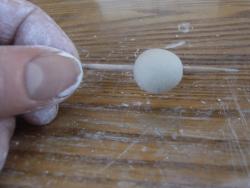
Try not to let the toothpick go all the way through. You should puncture the bead until it just starts to poke through the other side.
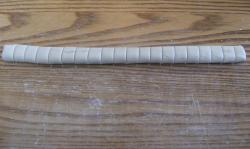
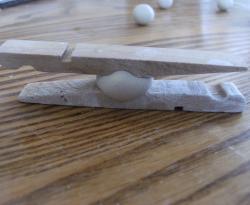
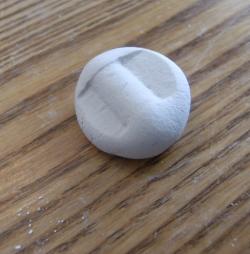
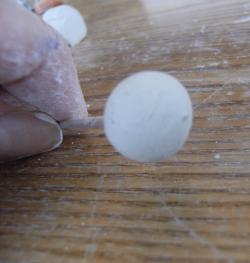
In this picture I have shown the original "clothespin" bead that I made. Now it needs to be sponged off. Some people prefer a rougher edge on their beads. This is a personal preference. If you don't, however, smooth ary rough areas by the punctured holed because there will be a greater risk of that area chipping when you use them in jewelry making.